Before getting started, it is recommended to create a System Restore point and backup Registry files to be on the safe side.
Delete Recent colors history in Windows 11/10
To delete Recent colors history in Windows 11/10, follow these steps- Here is the guide in detail. To get started, open the Registry Editor first. For that, press Win+R, type regedit, and hit the Enter button. You need to click the Yes button on the User Account Control popup. Following that, navigate to this path- After clicking the Colors key on your left-hand side, you will find some values like these-
ColorHistory0ColorHistory1ColorHistory2ColorHistory3ColorHistory4
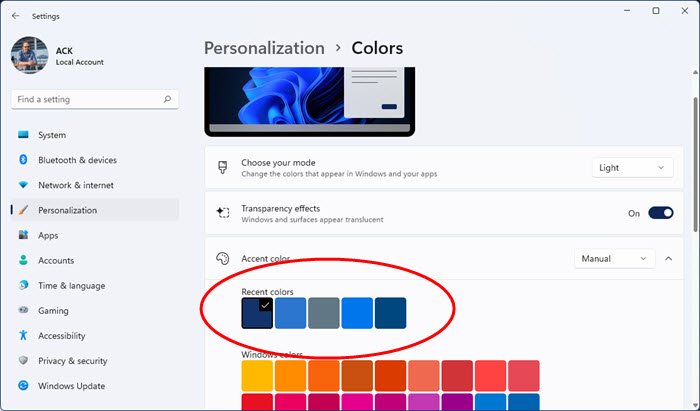
These are the five colors that appear under the Recent colors heading in the Colors section. For your information, the ColorHistory0 represents the currently set color. You need to delete these values. If you want to remove all five colors from the history, you can select all values in the Registry Editor, right-click on them, and select Delete.
However, if you want to remove one color or so, you need to select the specific value in the Registry Editor and delete that one only. After deleting, the Recent colors history section will be filled up with the default set of colors. That’s it!