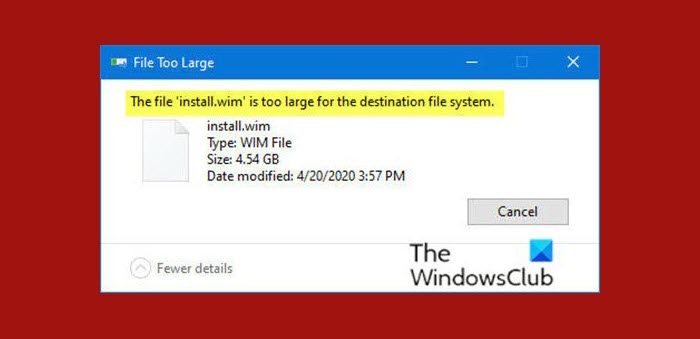
The reason this File too large for the destination file system error occurs is that the Windows Imaging Format (WIM) file in that download, which contains the compressed files that the Windows Setup program uses for installing Windows 11/10, is a little over 4.5 GB in size, which is well beyond the 4 GB maximum file size for a USB flash drive formatted using the FAT32 file system. Drives formatted using the NTFS file system can handle that extra-large file, but modern UEFI-based hardware requires a FAT32 drive to boot for a clean install of Windows.
The file ‘install.wim’ is too large for the destination file system
To get around this error on Windows 11/10, you could do any of the following: But if you require the option to run Setup from a bootable drive instead, so you can do a completely clean install, you’ll need to use the DISM command to split the WIM file into pieces that are under the 4 GB FAT32 size limit. Here’s how in 4 steps: Let’s see the steps in detail.
1] Create a bootable recovery drive
On a PC that’s already running Windows 10, plug in a USB flash drive and create a bootable drive using the Windows Recovery Media Creator. You’ll need a drive that’s at least 8 GB in size. Ensure that the Back up system files to the recovery drive option is unchecked. Bear in mind that all files on the drive will be erased when it’s formatted.
2] Mount the ISO file and copy its contents to a folder on the local drive
Press Winkey + E to open File Explorer and double-click the downloaded ISO file to mount it as a virtual drive. Leave that File Explorer window open and press Ctrl+N key combo to open a new window. In the new window, create a folder on a local hard disk and copy the contents of the mounted drive from the other window to that folder.
3] Use the DISM command to split the WIM file into multiple pieces
Now, press Winkey + R, type cmd and press CTRL+SHIFT+ENTER key combo to open Command Prompt in admin/elevated mode. In the window, copy and paste the command below but replace the folder_name placeholder in the command with the name of the folder that you created in Step 2, and hit Enter. After the operation completes, check the contents of the Sources folder. You should see two new files – Install.swm and Install2.swm, alongside the original Install.wim. You can now safely delete the Install.wim file from the folder you created.
4] Copy the installation files from your local folder to the bootable USB drive
Now, make sure you copy all (press CTRL+A, then press CTRL+C) the folders and files and paste them into the bootable USB flash drive. You’ll receive a prompt stating whether you want to replace files on the destination drive, click Yes. This time, you shouldn’t receive the error. Windows Setup recognizes the two split files with the .SWM file name extensions and uses them to create the new installation. Alternatively, if you’re not the type to roll up their sleeves and do some dirty work, you can use Rufus or any other application that can create a bootable USB flash drive. These tools format the drive by making 2 (or more) partitions. One of them formatted as NTFS another as FAT32. Both contain boot files, mapping to the installed OS on the NTFS partition. This way it can be booted from either a BIOS or a UEFI system.
How do I change my FAT32 to NTFS?
Open Disk ManagementRight-click the target deviceSelect FormatSet NTFS for the selected deviceSelect Quick FormatClick OK to confirm.
Wait for the process to complete. I hope you find this post useful!