Other factors such as durability, size, and noise have also influenced users to jump to the SSD ship. If you’re considering making the shift, I can assure you that you’re doing the right thing. If you already have a functioning hard drive with your operating system and files on, you have to clone this drive onto the SSD you wish to use. Don’t worry; this process isn’t as tough as it sounds, especially if you follow this guide.
How to Migrate Windows 11/10 from HDD to SSD free
I’ll begin this guide by showing you the prerequisites for cloning your hard drive into an SSD, and then we’ll dive right into the steps. Continue reading this post for the full guide.
1] Prerequisites
Before you begin cloning your system drive into a new SSD, you have to ensure that you have all you need. Go through the checklist below before proceeding with the steps:
Update your computer’s and SSD’s firmwareThe system drive you currently use should be healthy to prevent errors.Insert the SSD into your computer or connect it using a USB cable.Ensure that the new SSD has sufficient space to hold the data from the old volume.You need a Windows system repair disc.Back up the data in your hard drive.Get a reliable USB cable to connect the drive you’ll back up your files and folders.A capable backup and recovery software. I’ll recommend a free tool that does the job excellently.
2] Back up and defragment your hard drive
Press the Windows button and search for defrag. Select Defragment and optimize drives. Optimize your hard disk using this tool. Also, cloning your drive is a delicate procedure, and to avoid losing your data, I recommend that you make a backup of your hard drive before proceeding with the operation.
3] Free up space on the hard drive data
You are cloning your hard drive into an SSD, and the fewer data getting transferred, the better and faster the operation. Hence, I advise that you delete less important files from the old volume. While at that, confirm that the SSD is large enough to store your files and folders. Alternatively, you can install a fresh Windows operating system on your SSD and make it your primary boot drive. With this, you can now set the old hard drive to hold other files.
4] Migrate your data to the SSD
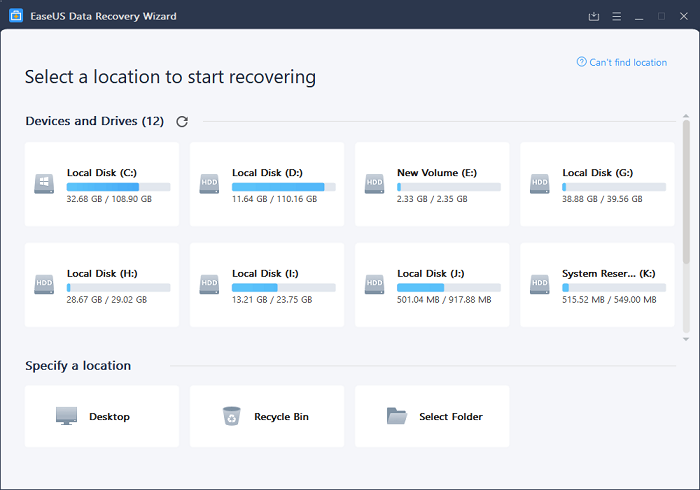
System drive migration would’ve been a complicated operation, but thanks to backup and recovery utilities, it can be a breeze. For this guide, I recommend EaseUS Todo Backup because it’s free and it works perfectly.
Launch the application and select the Clone option from the left panel. Click on the Disk Clone option next. After that, select the source and target volumes. Mark the Optimize for SSD checkbox and hit the Next button to continue. At this point, EaseUS will start copying the disk. You might also want to mark the checkbox next to Shut down the computer when the operation.
5] Clean the original system drive
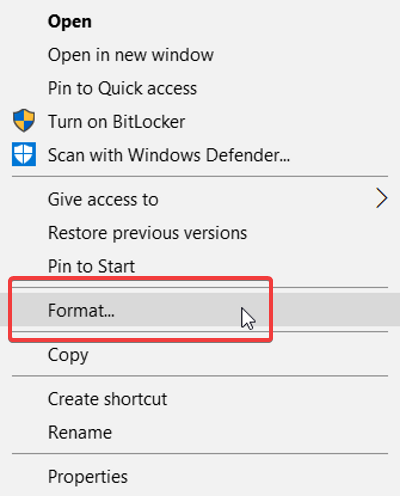
After successfully cloning the hard drive into your SSD, your data will remain in the hard drive. If you plan to let go of the hard drive, you need to remove your files from this volume to prevent them from falling into the wrong hands. To do this, boot your computer from the SSD. Launch Windows Explorer and go to This PC. Here, right-click on the drive and select Format. You can go with the Quick Format option to get rid of your data from the hard drive.
5] If you use both drives…
If you plan to use both drives, you’d probably want to save large files like setups, videos, music, and pictures in the hard drive. This volume should be empty now if you formatted it. So, head in there and create a new folder. Return to the SSD and navigate to C:\Users<your username>. Right-click on each user account in this folder and move them to the new folder on your hard drive.
6] Restore your files and folders
If you made the backup as I recommended, you’d have all your old files and folders intact. After cloning the hard drive, you want to restore these files to your system. Simply connect the volume you backed up on and open it up in File Explorer. Select the files and folders you wish to restore and copy/paste them to the relevant directories on your system drive. That’s all.


