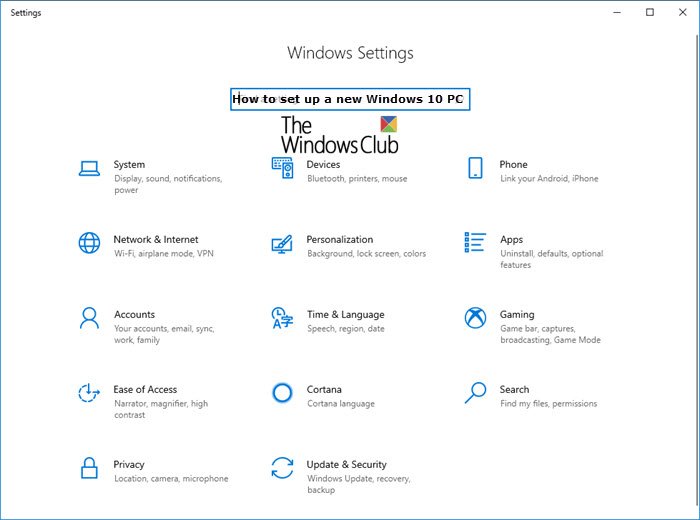
How to set up a new Windows 11/10 PC
These are some of the tips which I follow and recommend to everyone to configures their Windows 11/10 PC for the first time. But of course, it all depends on your requirements and need. Not included in the list, but They will cost you less than $50, and there are many available for free.
How to configure a new Windows 11/10 computer
[Windows 10 Settings]
1] Set up an Internet connection
First, it is best to set up an Internet connection. Windows setup usually asks to connect to the internet during the setup. If you use an ethernet cable, then you don’t need to go through any extra configuration. However, if you connect to a WiFi network, then follow these steps
Click on the ‘Globe’ icon on the System tray.The PC will scan for available WiFi network. if it finds yours, click on it.Enter the password, make sure to check “Automatically connect,” and then click on the connect button.
If you have a problem connecting to WiFi, then follow our guide to troubleshoot WiFi problems.
2] Uninstall programs you don’t want
Windows comes with a set of pre-installed programs & apps. Not all will be useful, so you can choose to uninstall those programs.
Go to Settings > Apps and FeaturesSelect the app and then uninstall it.
We have written a detailed tutorial on how you can completely uninstall UWP apps on Windows.
3] Install the programs you need
The next step is to install the apps that you use. Most of the applications are available online, so all you need is to download them and install them. If there are activation keys, find them in your email. If you have Drivers on a USB drive or CD, make sure to install them.
4] Run Windows Update & update installed software
Once you have the initial setup ready, we highly recommend you run Windows Update. Your update might be outdated, or there is a new version of Windows. Once done that, also make sure to update all the software individually.
5] Windows Security, Controlled Folder Access and Ransomware Protection
Microsoft Security Essentials has grown to what we know today as Windows Security. It is a powerful antivirus & security solution that is available for all Windows 10 users for free. If you are using it, make sure to configure Controlled Folder access to block apps and software from accessing folders without permission. It makes sure to safeguard your computer from Ransomware.
6] Ensure that System Restore is working
The System Restore feature is enabled by default. However, it is always a good idea to ensure that System Restore is enabled. It is the most important thing, and the easiest way to bring back the computer to a working condition if it becomes inoperable.
7] Set up Automatic Backup/Restore feature
Windows offers an in-house solution for backup and restore files, and system partitions. You can schedule, choose which drives to backup, files, and more. Make sure to always backup files to an external drive. I always suggest using professional backup software apart from what Windows has to offer.
8] Create a bootable USB media
A bootable USB media will always be handy in case your PC faces starting problems. It will allow you to boot into the advanced recovery mode and troubleshoot Windows 10. Using this, you can boot into safe mode, uninstall software that does not uninstall in normal mode, and also use Restore point to recover the system.
9] Configure Windows Update
Windows 11 gets one major update a year and Windows 10 gets two major updates every year, and if you believe that it could break your Windows, then you opt to Pause Windows Updates if you wish. You might want to also turn off Windows Update Delivery Optimization.
10] Configure Privacy settings
Windows offers a plethora of settings for Privacy. Read our extensive guide to configuring Privacy in Windows, or you can use free Privacy tools like Win Privacy, Blackbird Privacy tweaker, and more. Read: How to set up a Windows PC for senior citizens.
11] Setup OneDrive & Private Vault
When you set up Windows, it will prompt you to create or use an existing Microsoft account. When you do so, it brings in native OneDrive integration. I would strongly suggest backup up files that you keep on the desktop to it, and enable Private Vault. OneDrive Personal Vault is a ‘secure’ folder inside your existing OneDrive storage where you can upload or move files and lock them down with 2-factor authentication.
12] Turn on Storage Sense to better manage space
Windows offers an inbuilt cleaner that can get rid of junk files, files in Downloads Folder, empty Recycle bin, old Windows installation files, and more. Its called Storage Sense. Once turned on, it will run automatically every 30 days.
13] Force Windows to Close Apps at Shutdown
I am sure you have experienced this before. Windows usually get stuck because it is not able to close the running applications. In Windows 11/10, you can use this trick to force Windows to close apps at shutdown.
14] Connect your phone to your PC
YourPhone App is an incredibly useful app to see notifications of your phone on Windows 11/10. You can receive SMS, reply to them, accept calls over Bluetooth, interact with notifications on the phone, and more. 15] Use Ultimate Windows Tweaker You may download and use our portable freeware Ultimate Windows Tweaker to tweak Windows to suit your requirements. You could also download the free tool FixWin and keep it handy – in case you need to repair some functions of your PC. I hope the suggestions were easy to follow, and you were able to configure the settings in Windows 11/10 when you get started. Related read: How to use Windows PC – Beginners Guide.

