By default, your Windows system uses the DNS server of your internet service provider (ISP). Your local ISP may not have the fastest speeds, and so you may be looking to improve that. The good news is that you can use other DNS servers. This post will introduce you to Google Public DNS. Google’s public DNS is a free, global domain name system resolution service available for you to use instead of your current DNS provider. Having given an overview of how DNS servers work, it’s worth noting that this server plays a massive role in your internet speed. This is where Google Public DNS comes in. If you consistently experience slow internet speeds, it may be time to switch to this fast DNS server.
How to setup Google Public DNS on Windows 10
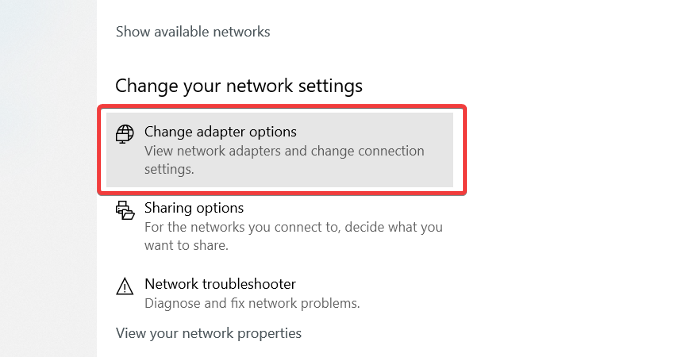
Setting up Google Public DNS on your computer is straightforward. To change the DNS, follow the guide below to do this quickly:
Having done that, now enter the following values into the fields below:
Preferred DNS server: 8.8.8.8Alternate DNS server: 8.8.4.4
Hit the OK button to save the configuration. Make sure that you edit the adapter that you will connect to. Here is a list of some good free and Public DNS Servers that may interest you. If you’re a geek and like complicated stuff, check out our guide for changing your DNS server using command line. TIPS:
Take a look at Comodo Secure DNS, OpenDNS, Angel DNS and Cloudflare DNS.ChrisPC DNS Switch lets you quickly change DNS Server.
After saving the settings, it’s time to try out your internet. Did the speed improve? Let’s know in the comments section below.