The feature provides two basic services:
Set up Storage Spaces in Windows 11/10
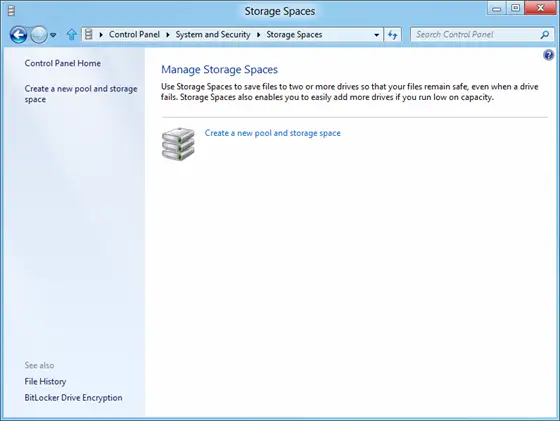
To create a pool and a mirrored space, go to the ‘Control Panel’. Press Win+X to bring up the power task menu and from there, choose ‘Control Panel’. Next, click ‘System and Security’, and then ‘Storage Spaces’. When a window shows up, select the ‘Create a new pool and storage space’ option. Next, select the drives to create a storage pool. Remember, if the selected drives contain files you will lose them all and won’t be able to recover them from Recycle Bin. Next, select a name, layout, and size for the storage space. To add more disks to the current pool, simply select the drives to be added and hit the ‘Add drives’ option. Shortly after that, you will observe the process of creating a pool in progress. Here, you can rename the pool if you would like too. To create additional parity space, click ‘Create a shortage space and then choose ‘Parity’ from the layout options. While creating a storage pool, if you run out of capacity you will see a notification like this: If such a case, click on the notification to get some information and try to fix it. That’s all you need to do to create storage Spaces and start using it like any other disk! Read: Create and Manage Storage Spaces from Windows Settings. Image Credits: Microsoft.