How to use the Graphics Format tab in PowerPoint
WE will talk about using the following features in the Graphics Format tab of PowerPoint:
1] The Change Shape feature
The Change Shape feature changes your graphic to a different graphic, preserving its formatting and size. Insert an icon into the slide and click the Graphics Format tab.
Click the Change Graphic button in the Change group, then choose which option you want to use to replace the graphic.
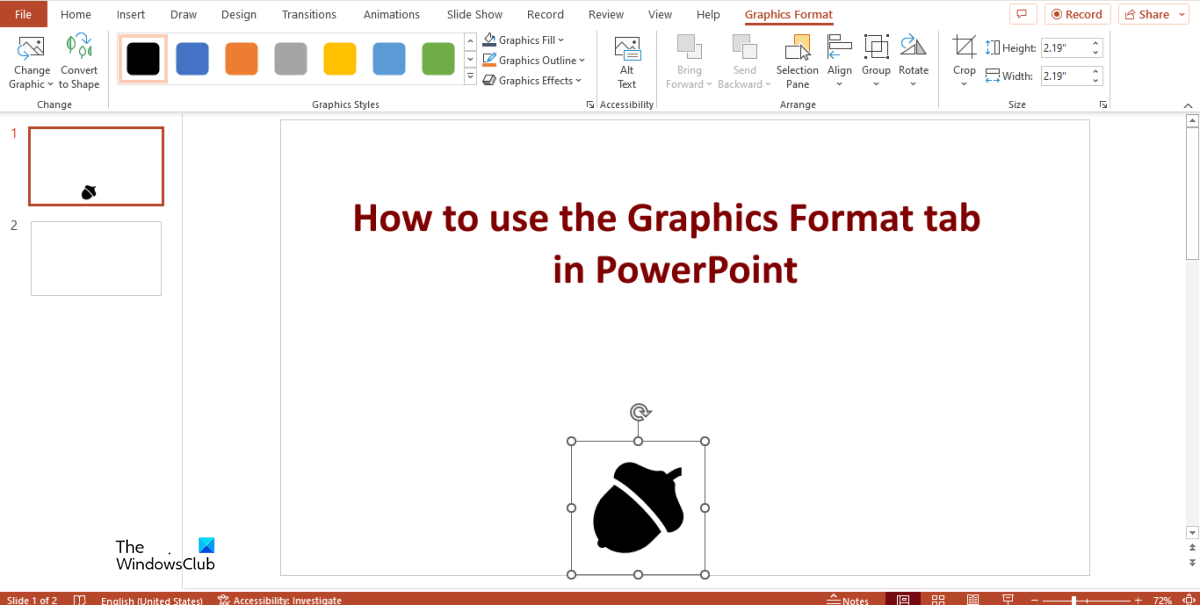
2] The Convert to shape feature
The Convert to shape feature converts your graphics into a shape.
On the Graphics Format tab, click the Convert to shape button in the Change group.
3] The Graphic Styles tools
The Graphic Styles tools allow you to add styles to your icon:
The Graphic Style gallery: Allows users to add colorful outlines or colors to the icons. Graphic Fill: Fill the selected graphic with color. Click Graphic Fill and select a color. Graphic Outline: Allows users to choose a graphic outline color, width, and line style. Graphic Effect: This allows users to add visual effects to the graphic in the slide.
4] The Alt text
The Alt text feature creates descriptions of graphics for screen readers. Click on the Alt text button, and PowerPoint will automatically display an Alt text in the box.
5] The Bring Forward and Bring Backward feature
Bring Forward: Bring the selected object forward one level or bring it in front of all objects. Bring the graphic on another graphic or shape you want it to be on and select the Bring Forward button. Bring Backward: Send the selected object back one level or send it behind all the other objects. Click the Bring Backward button to send the graphic behind.
6] The Selection Pane feature
The Selection Pane allows users to see a list of all their objects. This feature help users select objects and change their order or visibility.
Click the Selection button and a pane will open on the right. You can click the Hide All button on the Selection pane to hide all the objects in the slide. To display the objects, click the Show All button. If you want to hide only one object or a few objects, click the visible button adjacent to the object on the pane. If you want to prevent an object from moving, click the lock icon adjacent to the selected object.
7] The Align Objects feature.
Change the placement of your selected object on the page. Click the Align button and choose an option from the menu.
8] The Group feature
The group features group objects.
Select both graphics by holding down the Shift key on the keyboard, then click Group in the Arrange group and select Group from the menu. If you want to ungroup the graphics, select Ungroup from the Group menu.
9] The Rotate button
Rotate or flip the selected object.
Select a graphic, click the Rotate button and select an option from the menu.
10] The Crop button
Crop the picture to move away any unwanted areas. The Crop feature includes Crop, Crop to Shape, Aspect ratio, Fill and Fit.
11] The Height and Weight buttons
These buttons increase or decrease the height or weight of the graphic. We hope you understand how to use the Graphic Format tab in PowerPoint.
What are graphics on PowerPoint?
Graphics are anything that is not a picture. Graphics can be icons, shapes, and SmartArt. PowerPoint has features that can customize your graphics, whether it is in the Shape Format tab or the Graphic Format tab.
Why are graphics important in a presentation?
Graphics are important in PowerPoint because it makes your presentation more appealing and easier to understand, for instance, using graphics such as SmartArt to create an Organization Chart. Visuals transmit information to your audience faster than words. READ: How to crop images using Microsoft PowerPoint
How do I view graphics in PowerPoint?
If persons want to insert graphics into their slides, follow the procedure below: READ: Remove Text box and convert it to Dotted Frame in PowerPoint.