The app offers 3 test patterns to help calibrate your HDR display. It also offers an additional feature to customize the color saturation when HDR is turned on.
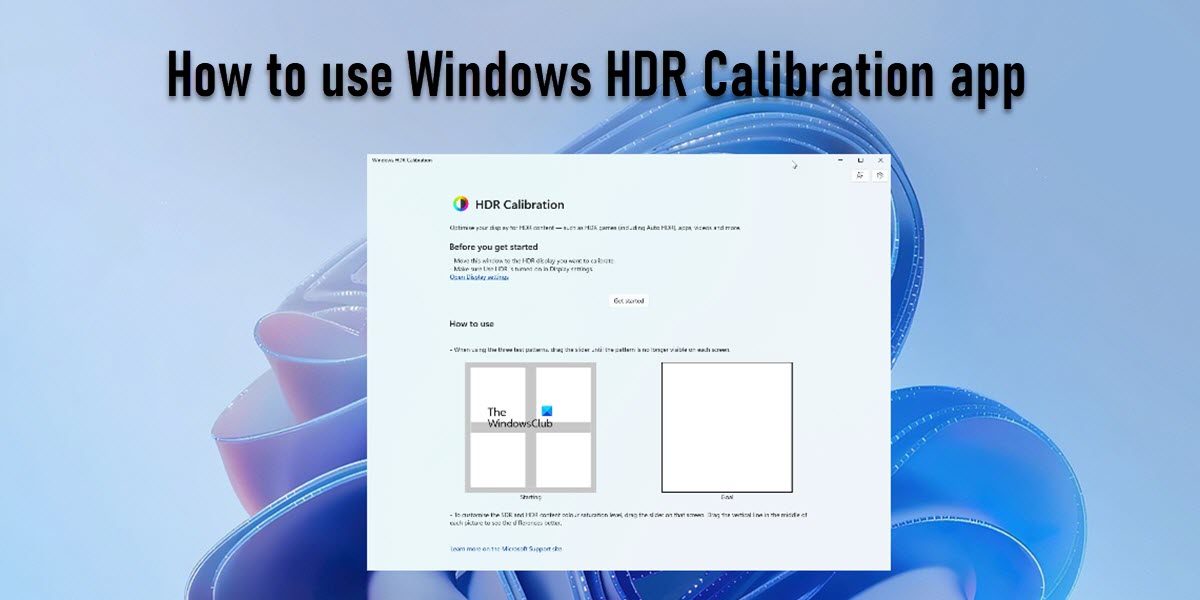
How to use Windows HDR Calibration app
In this article, we will show you how to use the Windows HDR Calibration app. But before that, let’s take a quick look at the basics.
What is Monitor Color Calibration?
Based on how a manufacturer has made the display, different monitors produce different screen outputs. Depending on this, a picture that looks warm on a particular monitor may look cool on a different monitor. A calibrated monitor always displays the correct colors by adjusting them to fit with the standard RGB color model. The most accurate way of calibrating a monitor is to use a spectrometer. It is a device that hangs in front of your computer screen, measures its color output, and using a companion app, generates a color profile to correct the display.
Monitor Calibration on Windows
The Windows 11/ 10 OS offers a built-in tool to calibrate monitors. Though it isn’t as accurate as a spectrometer, it can generate good results without having you invest in dedicated hardware. The tool was previously available for calibrating streaming HDR videos on Windows 11/ 10. With Windows 11 2022 Update Version 22H2, it got extended support for HDR games and apps. Named the Windows HDR Calibration app, the tool is currently being released to the users of the Windows Insider Program only.
As mentioned in the beginning, the Windows Calibration app offers 3 test patterns. When the content of a scene is either brighter or darker than the maximum or minimum supported brightness levels of your monitor, the display generates a ‘clipping’ effect that reduces the details in highlights and shadows. These test patterns help in reducing this clipping effect. The app also features a saturation option to make the colors look more vivid on your display screen. To use the Windows HDR Calibration app, open it and click on the Get started button. Then on every screen, click Next and you will see the slider that you will have to drag right or left to calibrate your display. You will have to undertake the following actions one after the other:
Move the slider either way until the pattern is no longer visible, to calibrate the darkness of the screen.Move the slider until the pattern is no longer visible, to determine the brightness visibility.Move the slider left or right until the pattern is no longer visible, to determine how bright the screen can be.Move the slider left or right to determine how color saturation appears on the monitor.
Finally, give it a Profile name and click Finish.
System Requirements for the Windows HDR Calibration app
To use the Windows HDR Calibration app, your display must support HDR games and apps in the first place. To check this, go to Settings > Display > HDR. Now check whether Use HDR is Supported or Not Supported under Display capabilities. Make sure to choose the right monitor in the panel on the top if you have multiple displays connected.
If Use HDR is supported, you must Turn it On. Other system requirements are as follows:
Installing the Windows HDR Calibration app
You can download the app from the Microsoft Store on your Windows 11 PC or by clicking on this link. Click on the Get button and wait till the app is installed on your PC.
Using the Windows HDR Calibration app
Once the app is installed, launch it using the Start menu or go to Settings > System > Display > Use HDR and then click on HDR display calibration. Note: Make sure to switch to the full-screen mode before using the app. Click on the Get started button when you’re ready to calibrate. You will see 3 screens afterward: For each test, the app will present a slider at the bottom of the screen. You have to adjust it by moving it to the right or the left till the pattern is no longer visible. Next, you will see a Color Saturation screen. You can move the slider at the bottom of this screen to adjust the saturation level of your display for both HDR and SDR content. The final screen will allow you to review the settings by showing the ‘before and after’ calibration effects. If you’re satisfied with the results, you may save the settings by clicking on the Finish button; else you may restart the entire process. Additional Notes:
While using the app, keep the same lighting conditions that you normally use for your HDR monitor.The changes in the scene may be very minute depending on your display characteristics.Since the color profiles are display-specific, you should run the app whenever you add or replace a display in your system.
You may also enable Auto HDR to allow games to use the HDR capabilities, even if they don’t natively support HDR. Also Read: How to restore default Display Color settings in Windows 11/10.
Deleting a Color Profile
To delete a color profile that you’ve created using the Windows HDR Calibration app, you may follow these steps:
How do I Calibrate my HDR in Windows?
Does Windows 11 support HDR?
In its latest update, Windows 11 is adding Auto HDR, VRR, and better latency support for games that run in windowed mode. The update also features a new HDR Calibration app designed specifically to calibrate displays that support HDR games and apps. Read Next: How to calibrate Xbox One Controller in Windows PC.