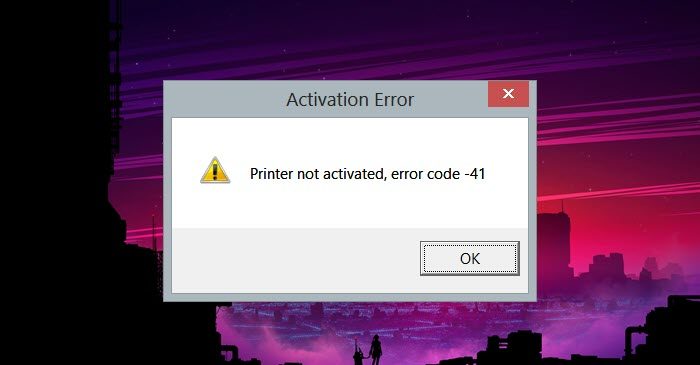
Fix Printer not activated Error Code 41
If you see the Printer not activated, Error Code 41, execute the following solutions to resolve the issue. Let’s talk about them in detail.
1] Restart the Print Spooler
Print Spooler is a built-in service of Windows OS and its role is to store print jobs in the computer’s memory until the printer is prepared to print them. In some cases, the Printer Spooler may be overloaded with too many printing jobs and this may lead to a problem. Restart the Print Spooler Service on your computer to resolve this issue.
Press Windows + R to open the run dialog box.Now, type control admintools in the run dial box and press OK. It will open the Windows Tools folder on your computer.Double-click Services.Scroll down the screen right-click on Print Spooler and click on the stop option or right-click on the service and select Stop to terminate the service.Again right-click on Print Spooler and select Start to restart the Print Spooler.
Restarting the Printer Spooler service can resolve your current issue.
2] Set the printer as the default
This problem also occurs because of your incorrect configuration of printer settings. Another reason for this problem is that you have not set the selected printer as the default one for printing purposes. To resolve this issue, correct the printer settings, and set the printer as default. To do the same, follow the steps given below:
Press Windows + I key to open the Settings app.Then click on Bluetooth and device and then click on Printer & scannerson the right hand of the screen.Look for your printer and select it as default.
Once done, restart your computer and see if the issue persists or not. Hopefully, this will do the job, if not move on to the next solution. Check: Printer not working after Windows Update
3] Run Printer Troubleshooter
If you are facing an issue while printing, you can use your system’s built-in component, Printer troubleshooter. This tool will not only scan your system but will also
Press Windows + R to open the run dialog box.Type msdt.exe /id PrinterDiagnostic and then click on the OK button.Click on the next button and wait for a few seconds while detecting an issueand click Yes to fix the printer issue.
Hopefully, after using this method your issue will be resolved.
4] Reinstall Printer Drivers
If your installed Printer driver is corrupted then this can also be the reason for this said error. The best advice for the users is to remove the Printer Driver from the computer and reinstall it again. Doing this will resolve the issue and your printer will be back in a normal state. Use the prescribed steps to resolve your issue.
Open Device Manager.Expand Print Queues.Right-click on your Printer’s driver and select Uninstall device.Click on Uninstall again.Once you have uninstalled the driver, right-click on Print Quest and select Scan for hardware changes to reinstall the removed driver.In case, the driver is not installed back, unplug and replug the Printer
After reinstalling Printer Driver, check if the issue persists. Hopefully, you are able to resolve the issue using the solutions mentioned in this post.
5] Update the Printer driver
Well, it’s necessary to make sure that your drivers are updated, otherwise, you are going to face such kinds of issues. If you are using an outdated printer driver, then simply updating it instantly will resolve the issue. After updating your driver, check if the issue is resolved or not. There are various ways to update the Printer’s drivers, however, we suggest you download and install the latest version of the Printer Driver from the manufacturer’s website.
How do I get my HP printer out of error mode?
Generally, when you face an error, the first thing to do is unplug all the cables, and restart the printer after a couple of minutes. This allows the capacitor to discharge and get rid of any temporary glitches that may have been causing the issue. Read: Printer not activated, Error code 30 problem on Windows.

