PC users affected by this issue, reported they encounter the error after recently running the Disk Error checking tool on their internal hard drive on their Windows 10 PC. The tool found errors and prompted for reboot, which the users did, but on subsequent reboots, the error kept showing up. Some users also reported they started encountering the error after a recent Windows update was installed on their device. If you see the notification once or twice, restart your PC and let Windows carry out the disk error checking operation. If you continue to see the notification, then you need to troubleshoot further.
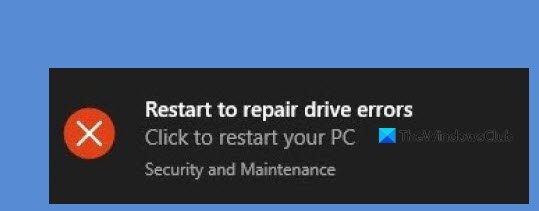
Restart to repair drive errors keep showing up after reboot
If you’re faced with this issue, you can try our recommended solutions below and see if that helps to resolve the issue. Let’s take a look at the description of the process involved concerning each of the listed solutions.
1] Hard Reboot computer
A Hard Reboot, instead of the restart could fix the issue.
2] Perform command-line ChkDsk in Safe Mode
Boot Windows 10 in Safe Mode. Bring up an elevated command prompt and execute the following command: On completion, reboot your PC and see if the issue is resolved.
3] Uninstall Windows Update (if applicable)
If you started experiencing this issue after a recent Windows update, you can simply uninstall the update and see if that resolves the issue at hand.
4] Cancel ChkDsk using Command Prompt
You can cancel the ChkDsk operation using the command-line and see if that helps. Open a command prompt window, type the following and hit Enter: This command will query the drive, and more than likely it will tell you that it is dirty. Next, execute the following command: The X tells Windows to NOT check that particular drive (G) on the next reboot. At this time, manually reboot your computer, it should not run Chkdsk now, but take you directly to Windows. Once Windows has fully loaded, bring up another command prompt and execute the following command: This should take you through five stages of the scan and will unset that dirty bit. Finally, type the following and hit Enter: Windows will confirm that the dirty bit is not set on that drive.
5] Run CHKDSK on the external drive (if applicable)
If you have any external drive plugged into your system, unplug the drive and then restart your system. You can also run CHKDSK on the external drive.
6] Use alternative disk error checking software
To rule out the possibility that this error is false-positive, meaning that your drive has no errors to repair, you can use an alternative disk error checking software.
7] Perform Automatic Startup Repair
This solution requires you to perform Windows 10 Startup Repair. Running this has been known to help.
8] Perform System Restore
You can restore your system to an earlier point. This will restore your system to an earlier point when the system was working correctly prior to when you started having the issue, as it’s entirely possible that the issue was facilitated by a change that your system has gone through recently, which you can’t pinpoint.
9] Run S.M.A.R.T test
At this point, assuming you have exhausted your options but still faced with the issue, it’s possible you’re dealing with a failing drive. In this case, you can run the SMART test and see what the result will be before considering replacing the drive and then clean install Windows 11/10. Hope something here helps you.